
How to Scan a Document to PDF on iPhone (The Complete 2026 Guide)
So, you've got a document you need to digitize, and you're wondering if you really need a clunky scanner. Nope! Your iPhone can totally handle it. We're going to walk through how to scan a document to PDF on iPhone using the tools you already have. It's simpler than you think, and you'll be saving and sharing PDFs in no time. This guide will show you how to use your iPhone as a document scanner, whether you're using the Notes app, the Files app, or just want to get a quick scan to PDF.
Key Takeaways
- Your iPhone has a built-in scanner in the Notes and Files apps, so you don't need a separate scan to pdf app.
- The Notes app is the easiest way to scan documents, letting you capture pages and save them directly within a note.
- Use the Files app to scan documents and save them directly into specific folders for better organization.
- You can edit scans by adjusting edges, applying filters, cropping, rotating, and adding signatures right on your iPhone.
- Good lighting and a steady hand are key to getting clear, professional-looking scans when you scan on iPhone.
Leveraging Your iPhone As A Document Scanner
It's pretty wild when you think about it, but that device you use for scrolling social media and taking vacation photos can actually do a pretty decent job of scanning documents. Seriously, no more hunting for that old flatbed scanner or paying for fancy apps. Your iPhone has this capability built right in, and it's surprisingly good.
Why Scan Documents on Your iPhone
So, why bother using your phone instead of, well, a real scanner? For starters, your iPhone is probably always in your pocket, right? That means you can capture a document whenever the need strikes, whether it's a receipt from lunch or an important form you need to send off. The cameras on these things are pretty sharp these days, so the scans come out clear. Plus, the phone does a lot of the heavy lifting for you, automatically finding the edges of your paper and making it look straight. You can then share it right away or save it without needing extra software. It's all free and built into the phone, which is a nice bonus.
- Always handy: Your phone is usually with you.
- Good quality scans: Modern iPhone cameras capture sharp details.
- Automatic adjustments: The phone finds document edges and straightens them.
- Quick sharing: Send scans via email or messages instantly.
- No extra cost: It's a free feature on your iPhone.
- Privacy: Scans stay on your device or in iCloud.
The built-in scanning feature on iPhones has been around for a while, evolving with each iOS update. It's a testament to how much our phones have become all-in-one tools, replacing many single-purpose gadgets we used to rely on. It's a simple yet effective way to digitize paperwork on the go.
Understanding Built-In Scanning Capabilities
Apple has integrated document scanning directly into the operating system, meaning you don't need to download a separate app like Adobe Scan or search for the best mobile scanner app. The primary tools for this are the Notes app and the Files app. Both offer a straightforward way to capture documents, adjust them, and save them as PDFs. The system automatically detects document borders, corrects perspective distortion, and can even apply filters to make the text more readable. It's designed to be intuitive, so even if you're not super tech-savvy, you should be able to get good results without much fuss. You can even add your signature directly to the scanned document within the app, which is handy for forms. For those looking for more advanced features or a different user interface, there are third-party options available, but for most everyday tasks, the built-in tools are more than sufficient.
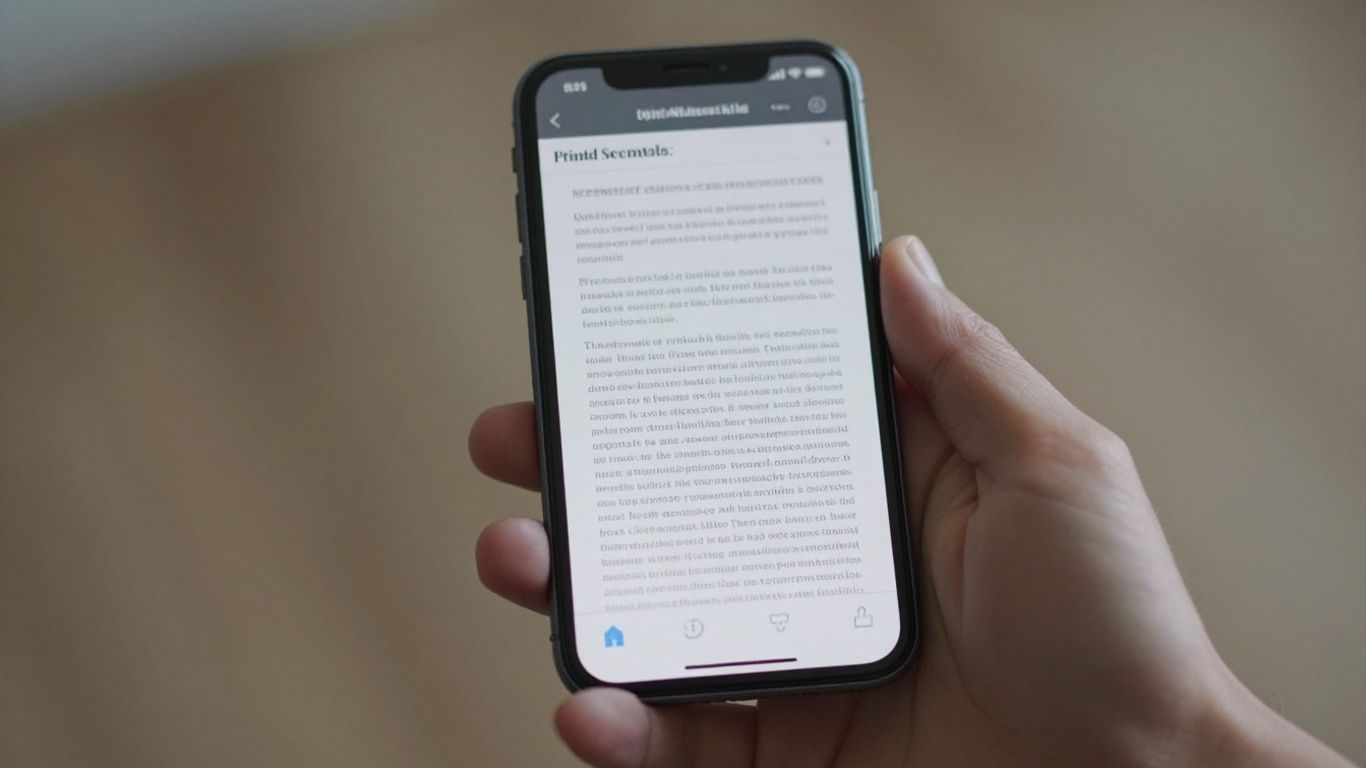
Scanning Documents Using The Notes App
Your iPhone's built-in Notes app is surprisingly capable when it comes to scanning documents. It's a quick and easy way to digitize papers without needing any extra software. Honestly, it's so straightforward, you'll wonder why you ever bothered with a clunky old scanner.
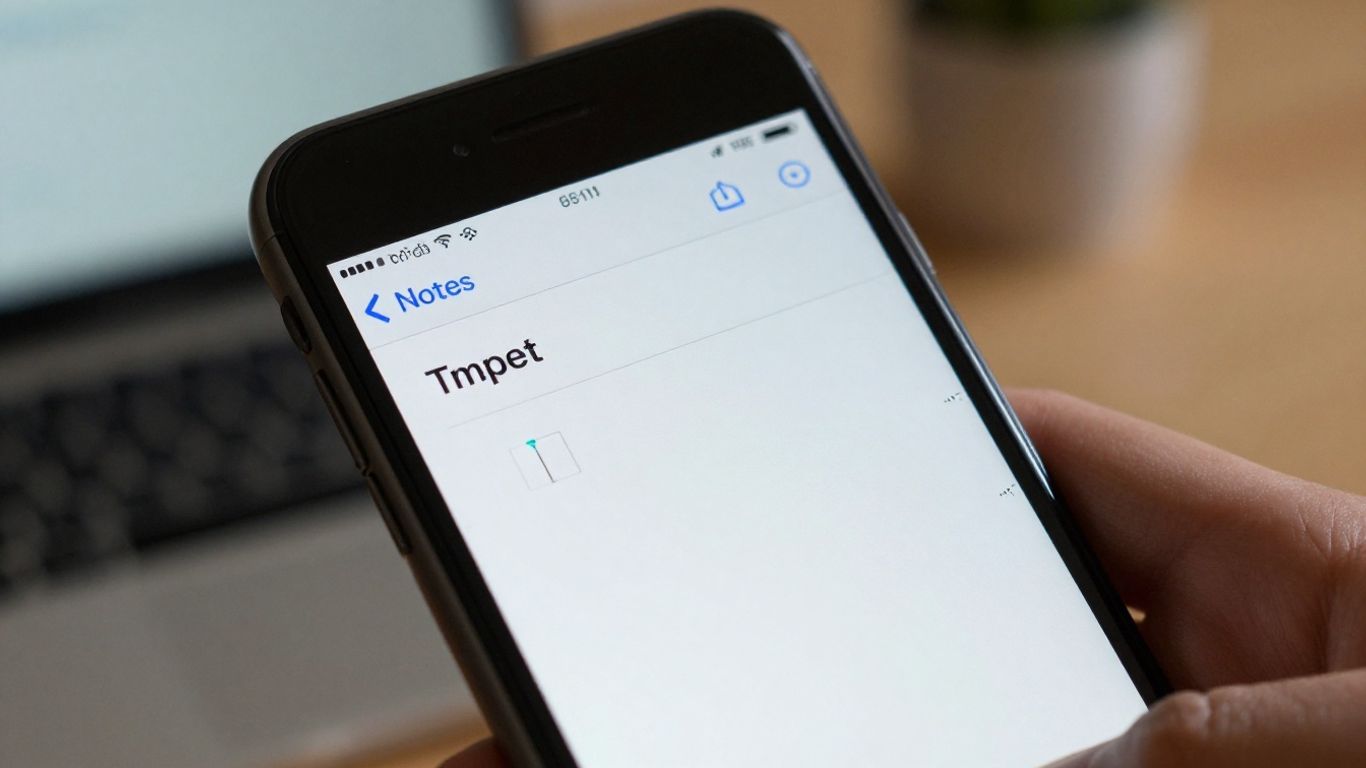
Initiating A Scan Within Notes
Getting started is simple. First, open up the Notes app – you know, the one with the little yellow notepad icon. You can either start a brand new note or open an existing one where you want to stash your scanned document. Once you're in the note, look for the camera icon just above the keyboard. Tap that, and then select "Scan Documents" from the menu that pops up. This action fires up your camera in a special scanning mode.
Capturing And Adjusting Scan Edges
Now, hold your iPhone over the document you want to scan. The app is pretty smart; it'll try to automatically detect the edges of the paper and highlight them with a yellow box. If it looks good, it might even snap the picture for you automatically. If not, or if you prefer to be in control, just tap the shutter button. After the shot, you'll see the captured image. You can then drag the little blue dots at the corners to make sure the scan perfectly fits the document's edges. Once you're happy with the framing, tap "Keep Scan."
This automatic edge detection and perspective correction are pretty neat. It means you don't have to worry too much about holding the phone perfectly straight or getting the lighting just right, though good lighting always helps.
Scanning Multiple Pages Seamlessly
Need to scan more than one page? No problem. After you've kept your first scan, the app stays in scanning mode, ready for the next page. Just position your phone over the next document, and repeat the capture and adjust process. Each page you scan gets added to the same document within your note. When you've scanned all the pages you need, just tap "Save." You'll end up with a single PDF file containing all the pages, ready to be organized or shared. It's a really efficient way to handle multi-page documents, like receipts or important forms, right from your pocket. You can even reorder pages later if needed by tapping on the scanned document thumbnail and then selecting "Edit." This makes it easy to get your paperwork sorted out quickly. For more details on how to use this feature, you can check out how to scan documents.
Here's a quick rundown of the process:
- Open the Notes app.
- Create or select a note.
- Tap the camera icon and choose "Scan Documents."
- Position your iPhone over the document.
- Let it auto-capture or tap the shutter button.
- Adjust the corners if needed and tap "Keep Scan."
- Repeat for additional pages.
- Tap "Save" when finished.
Utilizing The Files App For Document Scanning
So, you've got a document you need to digitize, and you're wondering if you really need a separate app. Good news: your iPhone's built-in Files app can handle this task, and it's pretty handy for keeping your scans organized right from the start. This method is great if you already have a specific folder in mind for your scanned documents.
Accessing The Scanner In Files
Opening the scanner within the Files app is straightforward. First, open the Files app itself. Then, navigate to the folder where you want to save your new scan. Once you're in the right spot, look for the three dots (•••) icon, usually in the top right corner of your screen. Tapping that will bring up a menu, and you'll see an option for "Scan Documents." Select that, and your camera will activate, ready to capture your document.
- Open the Files app.
- Go to your desired save location.
- Tap the three dots (•••).
- Choose "Scan Documents."
Saving Scans To Specific Folders
This is where the Files app really shines for scanning. Because you initiate the scan from within a specific folder, the document is automatically saved there once you're done. After you position your document and the iPhone captures it, you'll have a chance to adjust the edges if needed. Once you tap "Keep Scan," and then "Save" if you're adding more pages or finishing up, the PDF lands directly in the folder you were viewing. It’s a simple way to keep things tidy without having to move files around later. You can even save scans to iCloud Drive directly this way, making them accessible from other devices.
The process is quite similar to using the Notes app, but the key difference is the immediate organization. You're essentially telling your iPhone where the document should live before you even take the picture. This saves a step if your goal is to file it away neatly.
If you're scanning multiple pages, just keep repeating the capture process before hitting "Save." The Files app will bundle them all into a single PDF within that chosen folder. It’s a pretty neat way to digitize multi-page documents without much fuss.
Enhancing Your Scanned Documents
So, you've captured your document with your iPhone, but maybe it's not quite perfect yet. That's totally fine! Your iPhone has some neat tools built right in to help you clean things up and make your scans look way better. It's not just about getting a digital copy; it's about getting a good digital copy.
Adjusting Scan Quality and Filters
After you've scanned your document, you can tweak how it looks. Think of it like applying a filter to a photo, but for your important papers. You can find these options by opening the scan in the Notes app, tapping on the document thumbnail, and then selecting the page you want to adjust. Up in the top right corner, you'll see a little icon that looks like three circles – tap that.
Here's what you can usually choose from:
- Color: This keeps the scan looking like the original document, with all its colors intact. Good for photos or colorful flyers.
- Grayscale: This turns the scan into shades of black and white, like an old-timey photo. It can make text clearer sometimes.
- Black & White: This is a high-contrast option. It's really good for documents with just text, making everything super sharp and easy to read. It strips away most of the subtle shades.
- Photo: This filter tries to keep the original image quality as much as possible, which is great if your document has pictures or detailed graphics.
Choosing the right filter can make a big difference in how readable and professional your scanned document appears. Don't just stick with the default if it doesn't look quite right.
Cropping, Rotating, and Annotating
Sometimes, the scanner might pick up a bit too much of the table you had the document on, or maybe the page is a little crooked. No worries, you can fix that. After you've selected a page to edit, look for icons that let you crop and rotate. The crop tool lets you drag little dots at the corners to trim away any unwanted edges. The rotate icon lets you spin the page 90 degrees at a time. It's pretty straightforward.
And if you need to add notes, highlight something, or even draw a quick circle around a key piece of information, you can do that too. Just tap the markup icon (it looks like a pen tip) after opening your scan. You get a few basic drawing tools, a text box option, and the ability to highlight. It's handy for quick edits without needing a separate app. You can even add signatures to scans this way.
Adding Signatures to Scans
Signing documents digitally is super common these days, and your iPhone makes it pretty easy. Once you're in the markup mode (that pen tip icon), you'll see an option to add your signature. If you haven't added one before, it will prompt you to draw it on the screen with your finger. You can then resize and move it where you need it on the document. If you need to change the thickness or color of your signature later, you can usually tap on it and find those options. It's a quick way to get that official mark on your digital papers before you send them off.
Sharing And Managing Your Scanned PDFs
So you've gone through the process of scanning your documents on your iPhone, and now you've got these neat digital copies. What's next? Well, it's time to get those files where they need to go and keep them organized. It's not super complicated, but there are a few ways to handle it.
Exporting Scans Via Email Or Messages
This is probably the most common thing people do. Once your scan is saved, usually within the Notes app, you'll see a share icon – it looks like a square with an arrow pointing out of it. Tapping that brings up a menu with all your usual sharing options. You can send it straight to someone's inbox via email or shoot it over in a text message. It's pretty straightforward, and the scan is typically sent as a PDF, which is great for compatibility. If you need to send it to a nearby Apple device, AirDrop is also an option right there.
Saving Scans To Cloud Storage
If you're not sending the scan to someone right away, or if you just want a backup, saving it to cloud storage is a smart move. When you tap that share icon, you'll see an option like "Save to Files." This lets you choose where to put your scanned PDF. iCloud Drive is a popular choice, especially if you use other Apple devices, as it syncs everything up. You can also save it directly to your iPhone's local storage if you prefer. Just pick the folder that makes the most sense for you.
Organizing And Naming Scanned Files
This is where things can get a little messy if you're not careful. Imagine having a dozen scans all named "Untitled Scan" or something equally unhelpful. It's a good idea to get into the habit of naming your files descriptively right after you save them. Think about what the document is – "2026_Car_Insurance_Policy," "Receipt_Grocery_Store_June_2026," or "Medical_Bill_Dr_Smith." You can also create specific folders within the Files app to keep things tidy. Maybe a folder for "Receipts," another for "Work Documents," and one for "Personal." It might take an extra minute, but it saves a lot of headaches later when you're trying to find that one specific paper.
Keeping your scanned documents organized is just as important as scanning them in the first place. A little effort upfront in naming and filing can save you a lot of time and frustration down the road when you need to locate a specific document quickly.
Here's a quick rundown of how to share and save:
- Email/Messages: Tap the share icon, select your app (Mail, Messages), and send.
- Cloud Storage: Tap the share icon, select "Save to Files," choose your cloud service (iCloud Drive, etc.), and tap Save.
- Organize: Use descriptive file names and create dedicated folders in the Files app.
It's really about making sure your digital documents are as easy to find and use as their paper counterparts, if not more so. You can even share PDFs from your iPhone using the Preview app if you need more options after the initial scan.
Tips For Achieving Professional Scan Quality
So, you've got your document ready to scan on your iPhone. Great! But how do you make sure it looks like it came from a real scanner, not just a quick phone pic? It's not rocket science, but a few simple things can make a big difference. Paying attention to the basics will get you surprisingly good results.
Optimizing Lighting and Environment
Lighting is probably the most important factor. You want it to be bright, but not so bright that it causes glare or washes out the text. Natural light from a window is often best, just try to avoid direct sunlight that creates harsh shadows. If you're indoors, a well-lit room with overhead lights usually does the trick. Just make sure the light is even across the whole document. No one likes a scan where half the page is dark and the other half is blown out.
Ensuring Steady Hands and Camera Alignment
This one's a bit obvious, but holding your phone perfectly still is key. Even a tiny shake can make the scan blurry. Try to keep your phone directly above the document, parallel to the surface. Don't hold it at an angle, as this distorts the document's shape and makes the edges look weird. If you find your hands are too shaky, prop your phone up on something stable, like a stack of books, or use a phone stand if you have one. It makes a world of difference.
Utilizing Contrasting Backgrounds
This helps the iPhone's software figure out where the document actually ends and the background begins. If you're scanning a white piece of paper, putting it on a dark table or mat works well. Conversely, if your document has a dark background, a lighter surface is better. The goal is to create a clear distinction between the paper and whatever it's sitting on. This makes the auto-cropping feature work much more accurately, so you don't end up with bits of your table in your scanned PDF.
Here's a quick rundown:
- Lighting: Bright, even, and no glare.
- Stability: Keep the phone still and directly overhead.
- Alignment: Hold the phone parallel to the document.
- Background: Use a color that contrasts with your document.
- Camera Lens: Give it a quick wipe before you start.
Sometimes, even with the best setup, a scan might not look perfect right away. Don't worry too much. The editing tools within the Notes or Files app are pretty good at cleaning things up after the fact. You can adjust filters, crop, and rotate to get it just right.
Wrapping Up Your iPhone Scanning Journey
So there you have it. Turning your iPhone into a scanner is actually pretty straightforward, right? You don't need any fancy apps or extra gear. Whether you're using the Notes app, the Files app, or even the Camera app in a pinch, your iPhone can handle scanning documents and saving them as PDFs without much fuss. It’s a handy trick to have up your sleeve for everything from receipts to important papers. Just remember to get decent lighting and hold your phone steady for the best results. Now go forth and scan!
Frequently Asked Questions
Can I scan papers without downloading any apps?
Totally! Your iPhone has a scanner built right into the Notes and Files apps. You don't need to get any extra apps from the store. Just open Notes, tap the camera symbol, and pick 'Scan Documents'.
What kind of file does my iPhone make when I scan something?
When you scan stuff on your iPhone, it saves them as PDF files automatically. PDFs work everywhere and keep your documents looking good on any device. You can also save them as pictures like JPEGs if you want.
How do I put many pages into one PDF scan?
It's simple! When you're using the scanner in Notes or Files, just keep scanning page after page without hitting 'Save.' Each page you scan gets added to the same document. Once you're finished, tap 'Save,' and all your pages will be combined into one single PDF.
Can I change my scanned documents after I scan them?
Yes, you can! After you scan, tap on the document. You can fix the edges, change how it looks with different filters (like black and white or color), turn pages, cut parts out, and even write or draw on them. You can also add your signature.
Where do my scanned papers go on my iPhone?
If you scan using the Notes app, the scans are saved right inside that note. If you use the Files app, they're saved in the folder you picked. You can also choose to save them to your iCloud Drive or other cloud storage places using the share menu.
How can I make my iPhone scans look really good?
To get the best scans, make sure you have bright, even light. Put your papers on a flat surface. Hold your phone steady and straight above the paper, like you're looking straight down. Also, make sure your camera lens is clean and the paper stands out against the surface you're using.